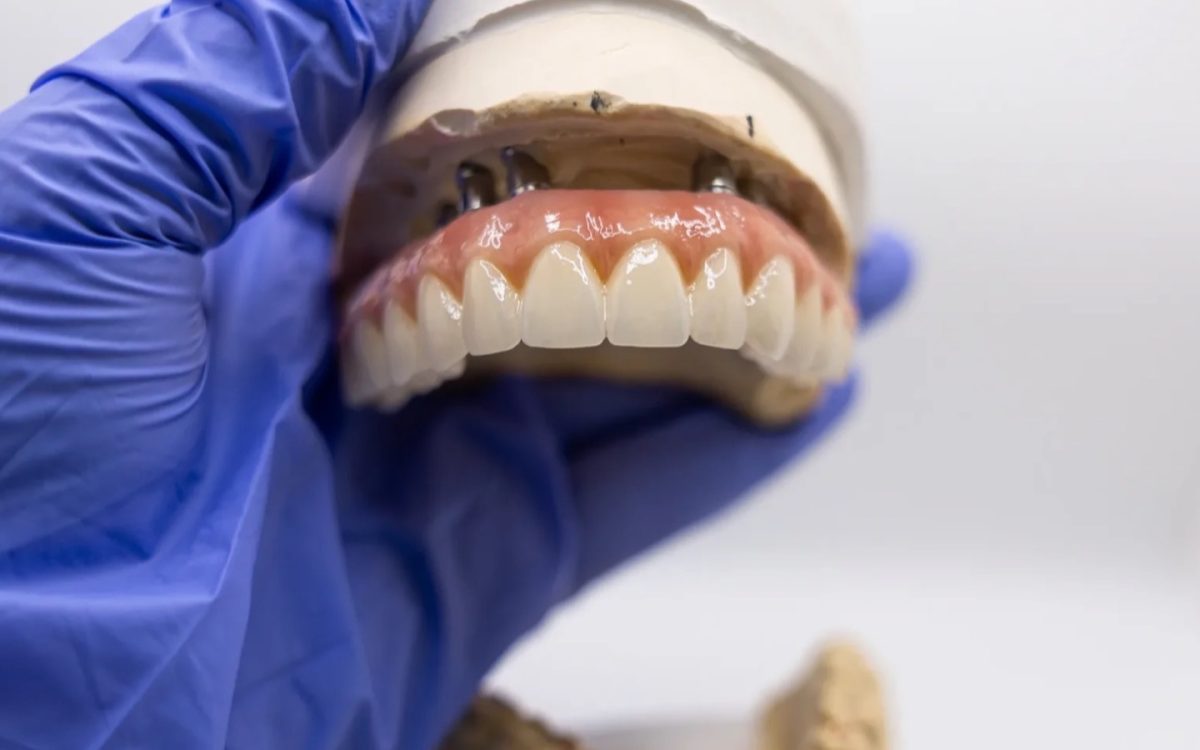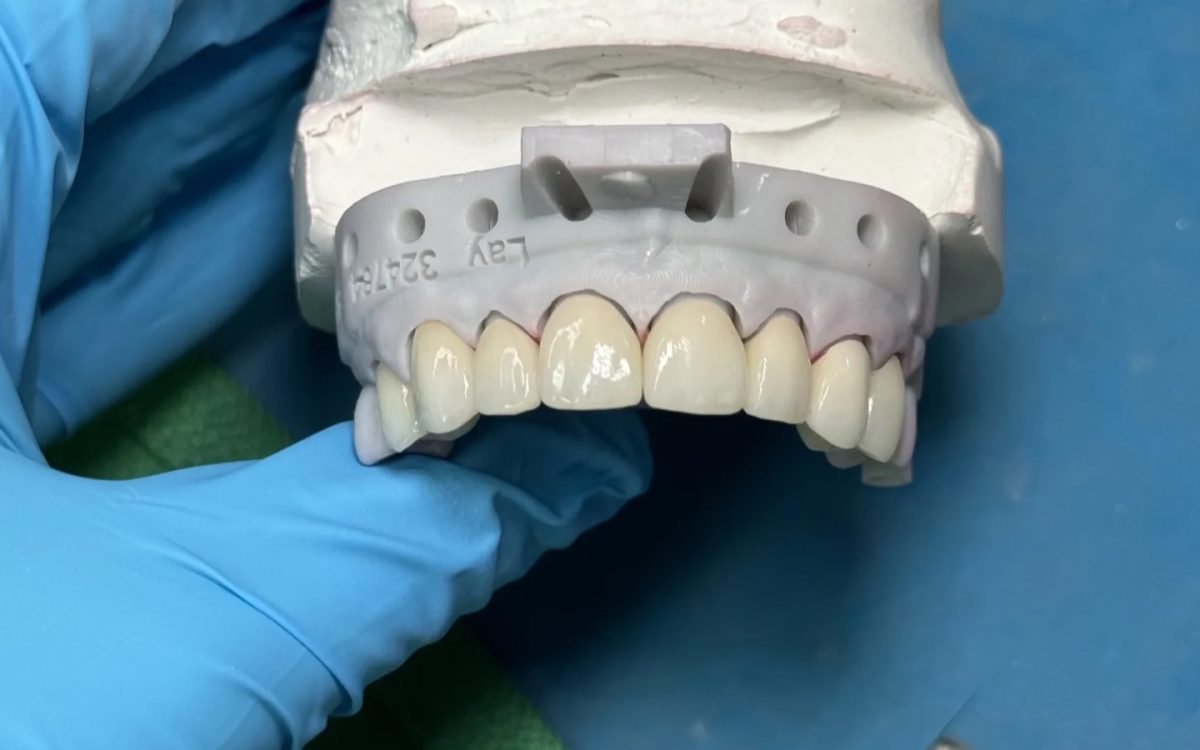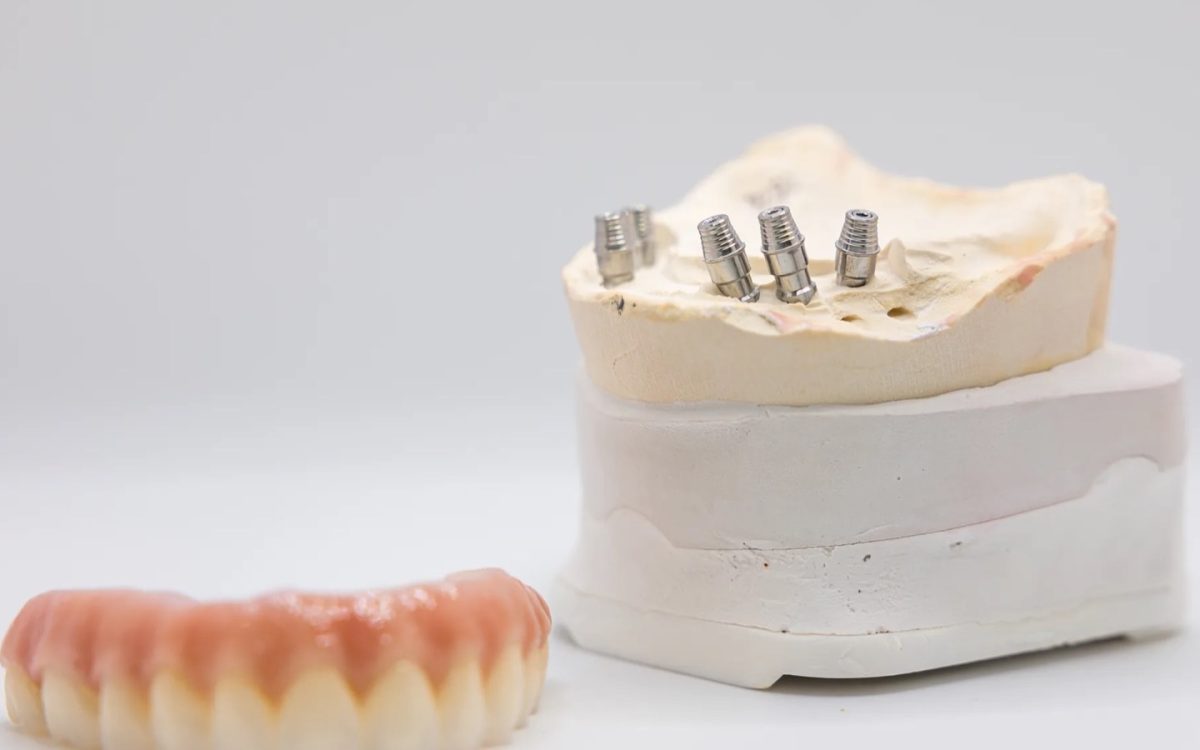
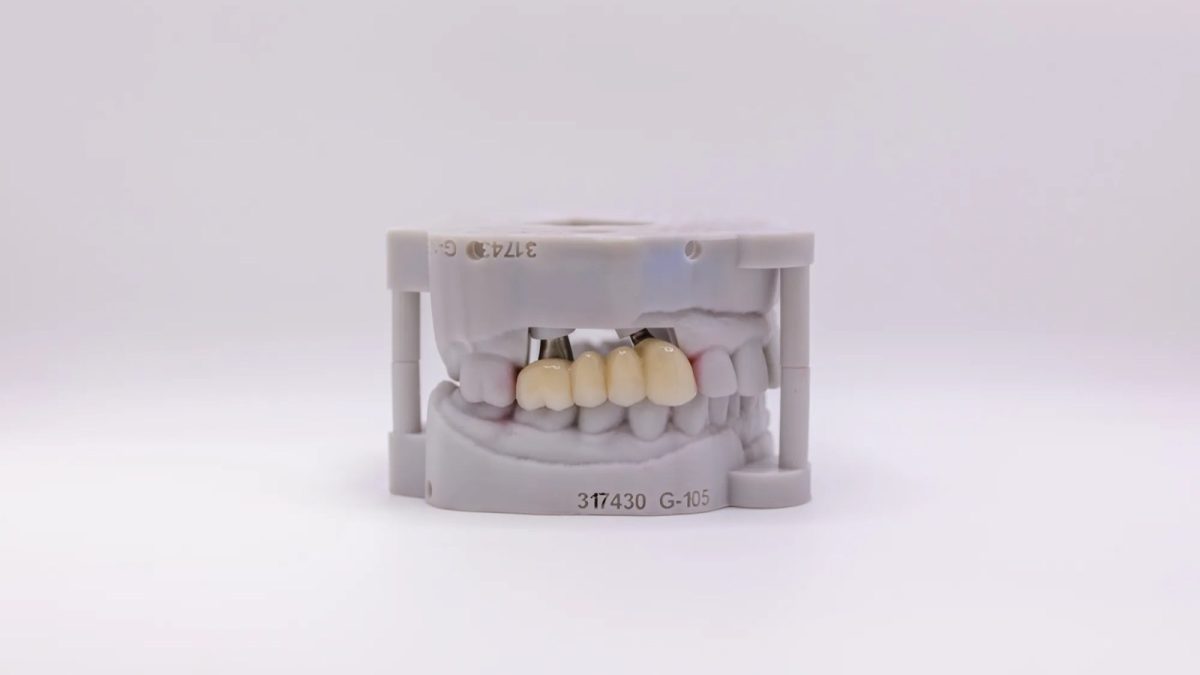
An impression coping is the part that tells the lab where your implant is. It locks onto the fixture, travels out in the impression material, and receives the implant analog we pour the model around. If the impression coping moves, rotates or sits a quarter turn off the hex, the model is wrong, and every crown, abutment and bar we build on it inherits the error.
None of that is visible when the impression comes out of the mouth. It shows up at the seat. Below is what an impression coping actually does, the checklist we wish came with every implant case, and where the evidence says splinting earns its chair time.
What is an impression coping?
An impression coping is a component that connects to an implant or abutment and records its position, depth and rotation in an impression so the dental laboratory can reproduce that position in a stone or printed model. It is the physical link between the fixture in the mouth and the analog on our bench, and the reason our implant crowns seat on the patient the way they seat on the model.
There are two working families. A pick-up coping is retained by a long guide screw, stays inside the impression when the tray comes out, and is used with an open tray. A transfer coping stays on the implant when the tray is removed, then gets unscrewed and reseated into its own imprint in the impression, and is used with a closed tray. International Dental Arts fabricates implant restorations from either kind of impression, and from intraoral scans, for dentists across the country from our lab in Tulsa.
- Pick-up (open tray) coping. Comes out locked in the set material, so it never has to be repositioned by hand.
- Transfer (closed tray) coping. Faster at the chair, but relies on reseating it into the impression correctly.
- Snap-on or press-fit coping. Used on some abutment-level and tissue-level systems, with its own seating feel and its own failure points.
- Scan body. The digital equivalent, read by an intraoral scanner instead of captured in material.
Impression coping checklist: what to send with the impression
This impression coping checklist covers what a lab needs from a conventional implant case before it can pour a model it trusts. Work through it before the box ships and the case goes straight to the bench instead of waiting on a phone call.
- The implant system, platform and connection, written on the prescription. Not the brand of coping, the brand and diameter of the fixture. We match the analog to that.
- Implant level or abutment level. A multi-unit or abutment-level impression needs a different analog and produces a different model.
- The coping itself. If you used a transfer coping, send it back seated in its imprint or bagged and labelled with the tooth number. We would rather have it than guess.
- Confirmation it was seated. On a subgingival platform, a periapical radiograph of the coping in place is the only proof that it sat fully on the connection.
- Opposing model and a bite. Without the opposing arch we cannot set contacts or the occlusal table.
- Soft tissue information. A tissue model or a note on the emergence you want, so the restoration does not blanch the papilla.
- The shade, with a photo if it is anterior. Same as any crown.
One timing note from our own lead time sheet: on a physical impression, the day we receive the case is not counted as a working day in the lab, while on a digital file it is. Plan the seat date with that in mind. The forms and implant scripts we use are on our lab forms page.
Splinting impression copings, and when it earns the chair time
Splinting impression copings means joining them together before the impression is taken, usually with a rigid resin or floss and resin, so they cannot move independently of each other inside the material. It costs chair time. The question every practice asks is whether it is worth it.
The best single source on this is still the 2014 systematic review by Papaspyridakos and colleagues in the International Journal of Oral and Maxillofacial Implants, which pooled 76 studies, 4 clinical and 72 in vitro. Its conclusion was direct: the splinted impression technique is more accurate for both partially and completely edentulous patients. For completely edentulous patients, 15 of the included studies favoured splinting, 1 favoured nonsplinted copings, and 9 found no difference. The same review found the impression material, polyether or polyvinylsiloxane, made no difference to accuracy, while implant angulation did. You can read the full review abstract on PubMed.
A later in vitro study by Abduo and Palamara, published in the International Journal of Implant Dentistry in 2021, tested two implants with one tilted at 15 degrees. The nonsplinted open tray copings showed significantly worse angular deviation than the splinted ones (p below 0.01) on the divergent model, while on parallel implants the two conventional techniques performed similarly. The full study is open access.
So here is where we land, and it is not the position you will hear from every lab. We do not think splinting is worth asking for on a single implant. One fixture has nothing to move relative to, and the evidence for splinting is about the relationship between copings. Where it does earn its time is any case where two or more fixtures will be joined in the final restoration, and any case where the fixtures diverge. A bridge or a bar has to seat passively on all of them at once, and an angular error that is invisible on one coping becomes a rocking framework across three.
The second position we hold: if the copings are divergent enough that you are reaching for a splint, call us before you take the impression. That is the case where the impression technique, the abutment choice and the restoration design are one decision, and it is cheaper to make it before anything is poured.
Pick-up or transfer coping for this case?
The choice between a pick-up coping and a transfer coping follows the case rather than habit. The same review found the open tray technique more accurate than the closed tray for completely edentulous patients, while for partially edentulous patients there seemed to be no difference.
In practice, a single posterior implant with good access is fine with a transfer coping. Multiple fixtures, divergent fixtures and full arch work favour the pick-up coping, because the coping never has to be put back into the impression by hand. Limited opening sometimes forces the closed tray, and that is a legitimate reason as long as the reseating is done carefully. The full technique decision is in open tray vs closed tray impressions.
Where impression copings go wrong
Most impression coping failures are not dramatic. They are small seating and handling errors that produce a model that looks perfect and is slightly wrong. These are the ones that cause the restorations we end up remaking.
- A coping that never fully seated. Tissue trapped under a subgingival platform holds it proud. The impression records the coping, not the implant, so the model is high by however much tissue was in the way.
- The wrong platform or a mismatched system. A coping that almost fits a compatible connection can still lock in a rotated position.
- A transfer coping reseated a quarter turn off. On a closed tray case the anti rotation feature has to go back into its own imprint exactly. If it is rotated, so is the analog.
- A guide screw left loose or overtightened. Loose and the coping can shift as the tray comes out. Overtightened and the coping can be torqued slightly off its seat.
- A reused coping with a worn connection. Copings get autoclaved and reused. A worn hex or deformed internal surface transfers a slightly different position every time.
We cannot see most of these from the impression. What we can see is a restoration that does not seat on the first try, which is why the radiograph and the written system details in the checklist above matter more than they seem to.
Do we need to change how we take implant impressions to work with you?
No. We take open tray, closed tray and splinted impressions, plus intraoral scans from iTero, TRIOS, Medit and Primescan, and we will not ask you to change a technique that works for you. If something about the impression coping position does not add up, we would rather call you than send back a crown that will not seat.
On the numbers dentists ask about first: our lab time on an implant crown with a custom abutment is 10 working days, and a custom abutment on its own is 5. You can talk to a technician about the case before it is poured and while it is in production. Single unit restorations are covered on the implant crowns page, and abutment design is covered in custom abutments. If you want to send a first case, start with us here.
Implant impressions
Not sure which coping this case needs?
Send us the system and the span before you take the impression. A technician will tell you whether to splint, and why.
Questions from the prep
Can impression copings be reused?
They can, and most practices do, but treat them as wearing parts and look at the connection before every use. Retire any coping with a marked, rounded or cross threaded connection, and do not mix copings between systems.
Do I need to splint copings for a single implant crown?
Generally no. The splinting evidence is about keeping multiple copings in the same relationship to each other, and a single coping has nothing to hold in relation.
Is an impression coping the same as a scan body?
They do the same job by different means. An impression coping records the implant position physically in impression material, and the lab pours an analog into it. A scan body is read by an intraoral scanner and matched against a library file in the design software. The failure modes are different too: a coping fails through seating and handling, a scan body through wear, capture and library mismatch, which we cover in implant scan body accuracy. Neither is automatically more accurate for every case. On long spans and full arches, both methods benefit from a verification step before the definitive framework is made. On a single unit, either is routinely reliable when it is handled well, so the better question is which one your team executes most consistently.
Which impression material should I use with impression copings?
Use the one your team handles best. The 2014 Papaspyridakos review found no accuracy difference between polyether and polyvinylsiloxane for implant impressions.
Written by Adam Brewer, General Manager, with nearly two decades in the dental implant industry, at International Dental Arts. IDA has been a family founded dental laboratory in Tulsa since 1984, working with independent practices across the country. If you want a case reviewed before you commit, get in touch.